Basic Setup
Part 2 in our getting started guide will help you get started searching for deals on eBay with the required and most basic settings.
Skip to Tutorial Section:
- Keyword Search Term Setup
- Create Search Term
- Delete Search Term
- Import / Export Search Terms
- Sub Search Terms
- Duplicate Search Terms
- Enable / Disable Search Terms
- eBay Account Authentication
- Layout Configuration
- Basic Setting Options
- Sync PC Time with eBay Time
- Maximize Window
- Sound Alert
- Windows Tray Alert
- Idle Timeout
- Load with Windows & Auto Start Program
- Skins
- Start & Stop Searching
1) Keyword/Search Term Setup
- Go to HOME > KEYWORDS menu navigation options or click on the KEYWORDS panel within uBuyFirst.
- The EBAY SEARCHES window will appear
- For new users, we’ve included a few sample search terms for your reference.
You will see the following fields present:
- Enable/Disable Search Term – Check box indicates if search term is actively being searched or temporary disabled.
- Alias – Internal name for a specific search term (ex: If keywords for a search term was “iPhone 6 Verizon 16GB -6s” a proper alias could be designated as “i6-VRZ-16GB”
- Keywords – Keywords to search for items just as you would input them if conducting an official eBay website search.
- Search in Description – If checked, the description of a listing will be checked for the keywords you’ve specified.
- Price Min – The minimum price range for a specific search term
- Price Max – The maximum price range for a specific search term
- Category ID – The numerical eBay category ID filter for a specific search term.
- Condition – eBay item condition filter. Select one, many or all.
- eBay Site – eBay primary site to search by default for an item (ex: eBay.com, eBay.co.uk etc.)
- Located in – Item location filter specified by country abbreviation.
- Ship Zip Code – Your ship to zip code. Entering this value will calculate the standard/lowest total price (item price + shipping cost) in the “Total Price” field for items that have calculated shipping based on your zip code.
- Sellers – For users who wish only to search specific eBay seller ID’s for items. Enter a sellers name separated by a comma to include multiple sellers. (Maximum 4 sellers per search term)
- Interval – Frequency a specific search term should be searched for. Ex: A search term that returns on average only 4 items per day could be modified to 30 second interval to allow other search terms a higher priority when searching for items that return more results.
- Filter – Local filter conditions to be applied for sub search terms.
Adding a New Search Term
- Click on the “+” icon on the upper right corner of the EBAY SEARCHES dialog box
- A new row will appear where you can fill out your new search term.
- Ensure the Enable/Disable Search Term check box to the far left of a search record is clicked.
Deleting a Search Term
- Single click on an exisiting search term record so it’s highlighted with a black border.
- Click the “X” button in the upper right corner of the EBAY SEARCHES dialog box.
Importing / Exporting Search Terms
You can import your search terms in bulk for faster setup or if you’re transferring them from an existing search platform.
- First, you need to get the proper format for importing. The best method for this is to export the existing search terms so you’ll have a template file to work from.
- Click the EXPORT button (Door Icon with Right pointing arrow) on the EBAY SEARCHES dialog box.
- The file will automatically open in Microsoft Excel or the default application your PC is set to open CSV files.
- Add/Delete search terms with appropriate field values.
- Save file as a CSV to your PC
- To Import, click on the IMPORT button (Door Icon with Left pointing arrow) on the EBAY SEARCHES dialog box.
Sub Search Terms
Sub Search Terms can be used to reduce the overall load on your local PC and increase the likelihood of finding items faster. Sub Searches are basically local “child” filter searches extracted from a main “parent” search term.
Ex: If you’re searching for the following 6 items that are all related:
- iPhone 6s Verizon 16GB
- iPhone 6s Verizon 32GB
- iPhone 6s Verizon 64GB
- iPhone 6s Sprint 16GB
- iPhone 6s Sprint 32GB
- iPhone 6s Sprint 64GB
In this case, uBuyFirst would have to make 6 separate unique searches for one main item that has 6 item specific variants.
You could make one main parent search term for the following:
- iPhone 6s (Verizon,Sprint)
With child search terms:
- Verizon 16GB
- Verizon 32GB
- Verizon 64GB
- Sprint 16GB
- Sprint 32GB
- Sprint 64GB
In this case, the main parent search term would retrieve all results related to “iPhone 6s (Verizon,Sprint) and local filters would separate them out into the 6 different variants.
Why use this feature?
- More concurrent searches increase the likelihood of finding results sooner.
- Reduce load on local PC and uBuyFirst servers will results in finding results sooner.
- Separate out product variants that have different price points without sacrificing speed.
Duplicate Search Terms
- Left mouse click on an individual search term record.
- Click “Delete Item”.
Enable / Disable Search Term
Temporary enable or disable individual search terms.
- Check/uncheck the box to the far left of a search term record. Check = Enabled / Unchecked = Disabled
- OR right mouse click an individual search term record and then click “Check Selected” or “Uncheck Selected”
2) eBay Account Authentication
uBuyFirst has the functionality to bring in all item specifics, seller information and item details from a listing. In addition, you’ll also be able to purchase directly though the application and make an offer when available. In order to get the most details for items and buy directly through the app, you’ll need to authenticate your eBay account.
Authentication Overview
uBuyFirst will never save or store your eBay password, ever.
Authentication is done securely through eBay’s website. In summary, you’ll use the app to initiate a request that tells eBay it’s ok to make calls on your behalf. The token is saved for 12 months and can be revoked at anytime through your eBay account settings.
Enhanced Abilities:
- Bring in all item specifics for listings
- Purchase “Commit To Buy” items directly through application
- Make an offer directly through the application
Setup
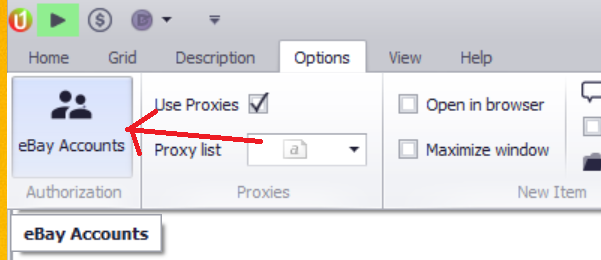
- Navigate to OPTIONS > EBAY ACCOUNTS within uBuyFirst
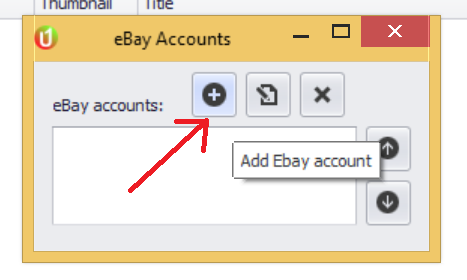
- Click the ADD ACCOUNT button on the popup window
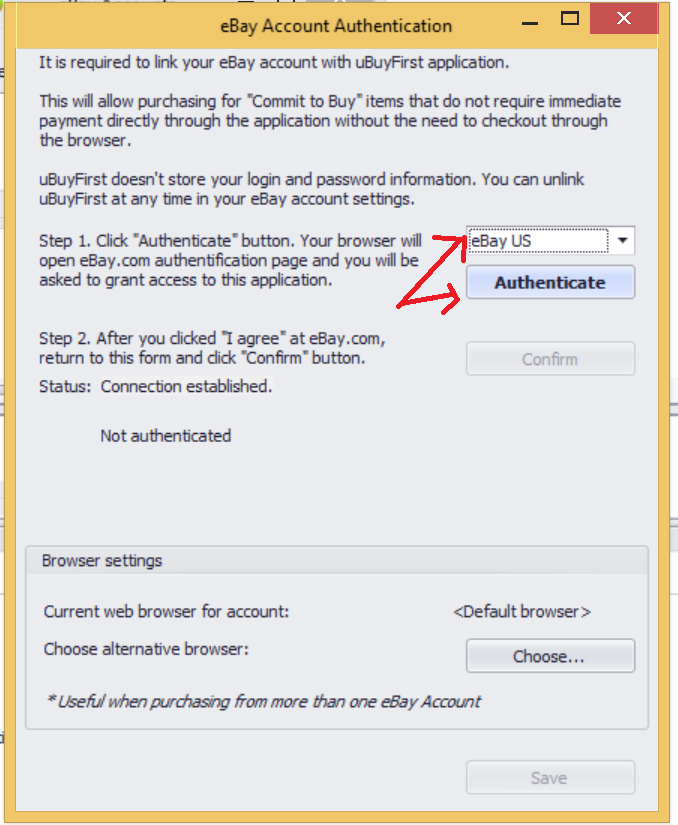
- Select the eBay country site your buying username was created on and click AUTHENTICATE.
- Your default browser will open and request you to sign into eBay.
- Once logged in, review the application token request information and click “I agree” to confirm.
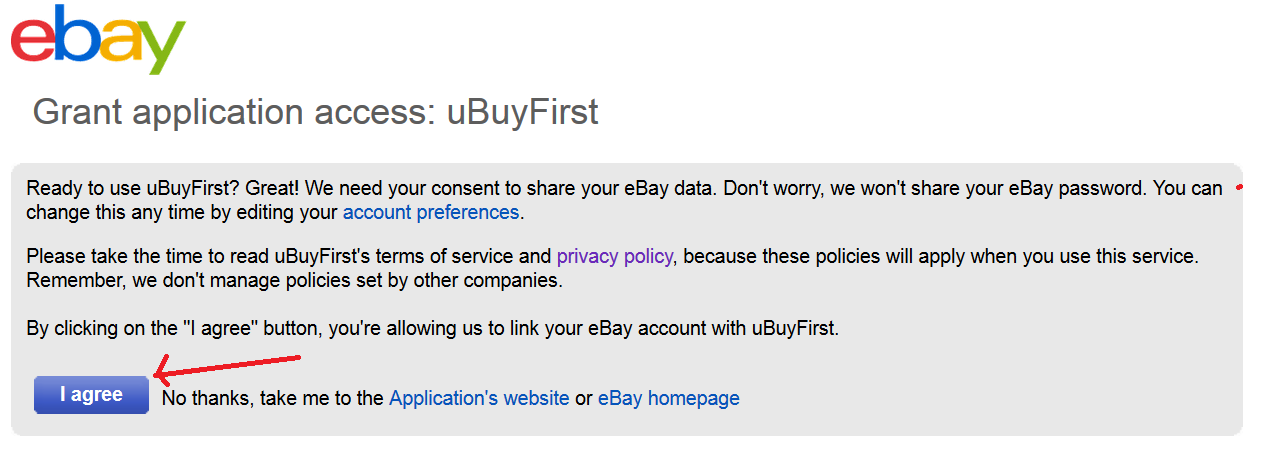
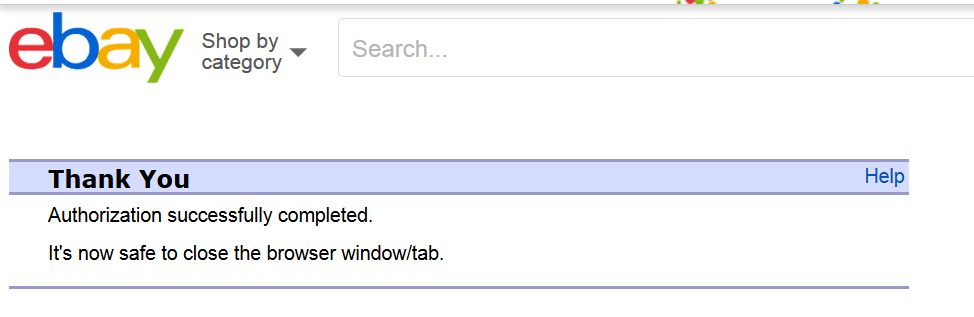
- A Confirmation page will appear if successful.
- Then proceed back to the uBuyFirst application and click “CONFIRM”

- The details of the account token will be shown. Click SAVE to finish authenticating your account.

- To remove the account authentication login to eBay and navigate to ACCOUNT > SITE PREFERENCES
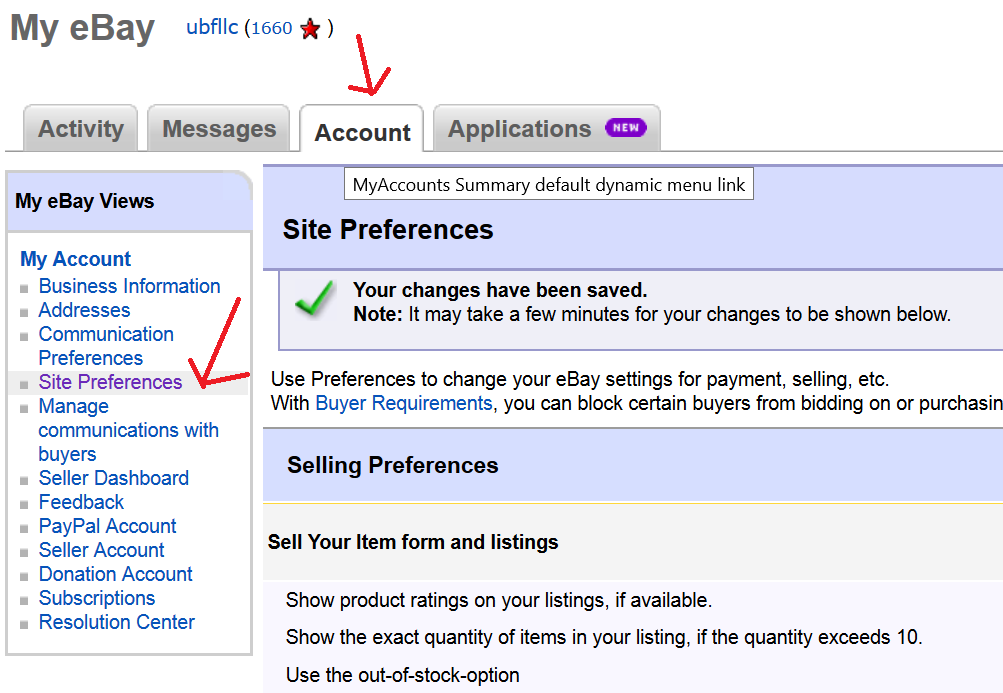
- Under “THIRD PARTY AUTHORIZATIONS” you will see uBuyFirst. Click “REVOKE” to remove account token.

3)
4) Basic Settings & Options
Outside of it’s core functionality, uBuyFirst has many other settings and features buyers can use to win more newly listed “Buy-It-Now” only items on eBay. In this tutorial, we’ll explain these features and how they’ll help you to find items first, decide quickly and buy before your competition.
eBay Local Time
Searches for new listings specify time values from last previously found items. Therefore, having your PC’s time setting synced with eBay’s official time is vital to ensuring optimal search performance.

- Found under OPTIONS menu
- Click and set “Time Zone” to your local time zone
- Ensure your PC’s timezone is the same selection
- Check “eBay – Local time” and if off, click “Sync Now”
- Tiny differences such as 1-3 seconds can often occur so you don’t have to sync repetitively if you see this variant in time often.
*Syncing with eBay’s clock will modify your PC’s local time.
Open in Browser
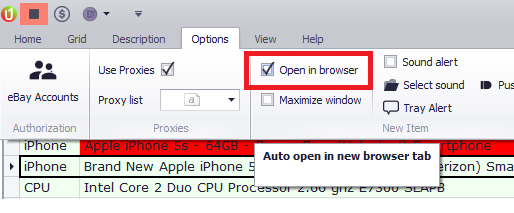
- Open in browser will open each newly found search result in your default browser (or designated browser with filter rule if > 1 eBay account selected)
Maximize Window

- When application is minimized and a new listing is found this option will maximize the window back into view on your screen. Buyers with infrequent new listings and limited monitor space can work on other items and ensure they’ll automatically be ready to purchase when a new listing is found.
Sound Alert
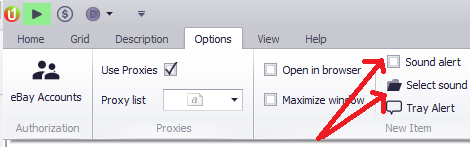
- Enable and select a sound alert to be played when a new listing is found.
Tray Alert
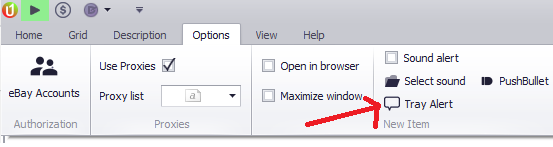
- Tray alert will give you a customized snippet of new listings in your windows desktop. No browser needed.
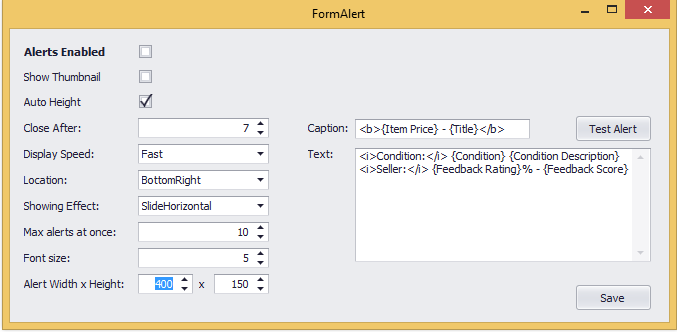
You can customize the tray alert in many ways.
- Enable/Disable alert
- Show thumbnail picture
- Auto Height to adjust height based on all information designated to show. (will not cut off information)
- Close After – Keep the notification up for “X” amount of seconds.
- Display Speed – Transition in speed of newly found items
- Location – Select location on screen to display
- Showing Effect – Transition in effect of notification
- Max Alerts – Only show a certain amount of notifications at a time in case overloaded. Won’t push off.
- Font Size – Adjust font size
- Alert W/H – Set default W/H for notification
- Caption / Text – Customize the exact information to display in a new alert using the format above and the item spec value name in the standard grids.
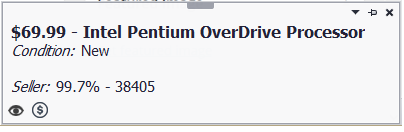
Example of notification
Idle Timeout
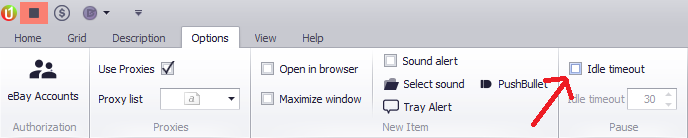
Time interval to stop searching after a certain amount of minutes of inactivity. This helps reduce bandwidth on our side and yours.
Start on Boot/Auto Start Search

- Start UBF automatically each time Windows boots
- Auto start search when UBF is opened.
Skins
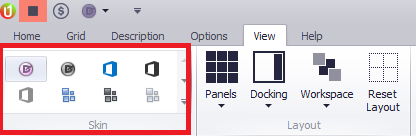
- Choose from many different skin types for the application interface.
5) Start & Stop Searching
Now that you have all the basics covered, let’s begin searching for newly listed BIN items.
- Click on the START button from HOME>START
- OR click the START/Stop button on the bottom left menu.
- When a search has been started, the START button will be replaced with a red STOP button.
- Simply click stop in either of these locations to stop searching for all items.