
When working fast as a reseller, the time you spend reading eBay listing descriptions can add up quickly. This tool helps you customize how you view description content so you can review listings more efficiently and spot key information faster.
There are 3 options available in the Description settings:
- Highlight Words/Phrases
- Zoom (Text Size)
- Background Color
Highlight Words & Phrases #
The faster you can read through a listing description, the faster you can move on to purchasing an item. However, many descriptions can be complex or have long, unformatted paragraphs, which can take up the longest portion of a buyer’s time.
In addition, scammers or inexperienced sellers might bury key item or condition information deep within the listing description.
Highlighting specific words or phrases helps you scan text quickly and accurately.
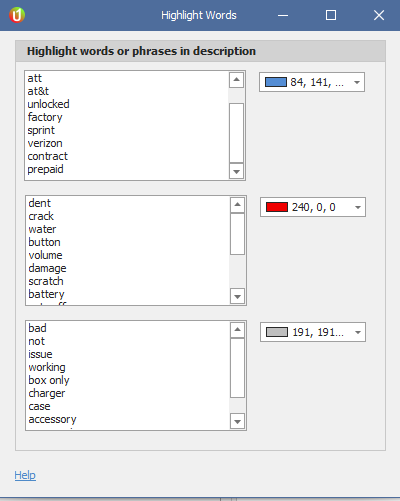
Setup #
Home > Description > Highlight Words
You will have 3 groups of highlighting.
For each group:
- Enter keywords or phrases
- Assign a color
Example Used: Buying unlocked iPhones only. #
Group 1 – Carrier Info #
To identify the carrier because sometimes sellers might select the title “Version Unlocked” but it is still locked, on a different carrier, or only available for pre-paid.
In this group I would include all keywords that might help identify carrier specific info or activation issues and highlight these blue.
Keywords:
tmobile, t-mobile, att, at&t, unlocked, factory, sprint, verizon, contract, prepaid, esn, imei, locked, icloud, activationGroup 2 – Damage #
The next group would include words/phrases related to issues with the phone when the item is listed as “Like New” condition, etc. Anything related to water, damage, cracks, etc, and highlight these red.
Keywords:
dent, crack,water,button,volume,damage,scratch,battery,cuts off,power,repair,as-is, as is, asisGroup 3 – Negative Words / Other Items #
Other negative words that might surround other key info and highlight it in grey.
Keywords:
bad, not, issue, working, box only, charger,case,accessory,accessories,no
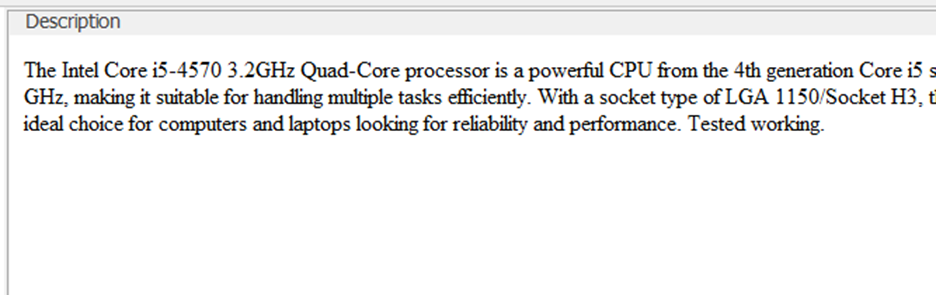
This is what you would see without use of highlight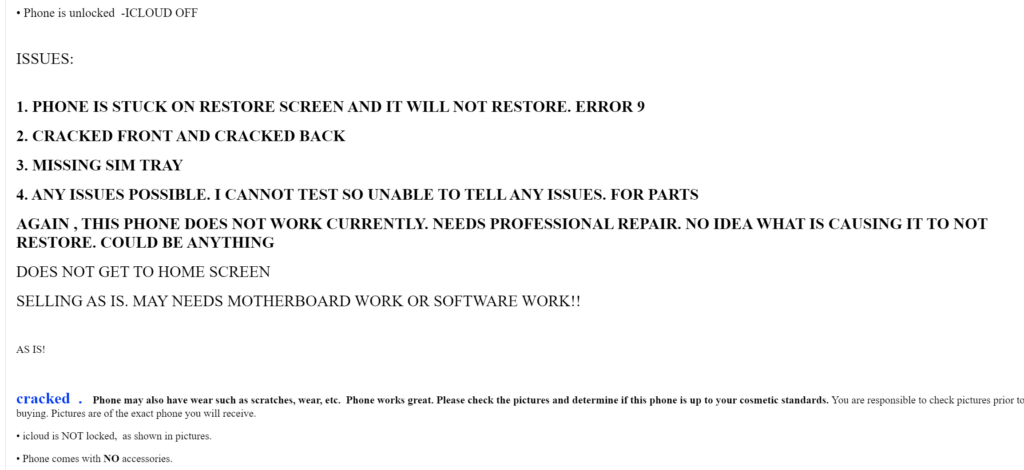
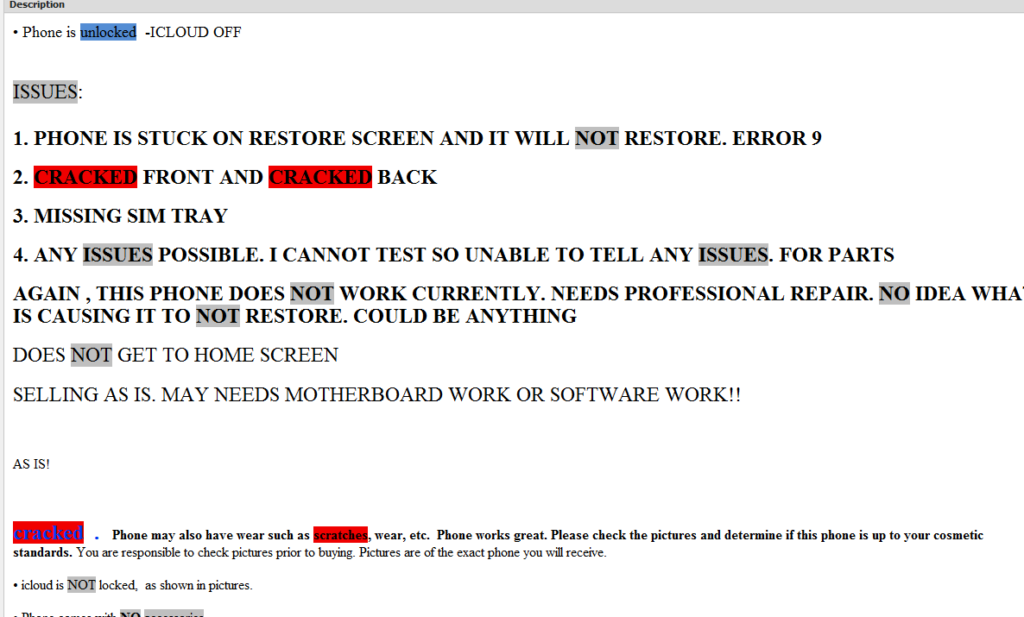
This is what you would see with highlighting.
Best Practice: #
- Best to continuously update.
- Helps scan through the listing rather than reading it word for word.
- Applies instantly to already found results.
Adjusting the Description Area: Zoom and Background Options #
What This Does #
This section allows you to adjust how the Description panel looks and feels. You can change:
- Text size (Zoom)
- Background color
This is great for reading on high-resolution screens or when viewing long or structured listing data.
Step-by-Step Instructions #
1. Open the Description Controls #
- Navigate to the Description tab on the toolbar.
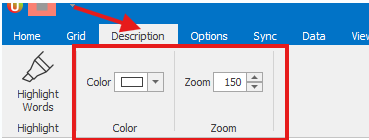
You’ll see two key settings here:
- Color (background fill)
- Zoom (text size scaling)
2. Adjust the Zoom Level #
- Use the up/down arrows next to the Zoom field to increase or decrease text size.
- After setting the zoom, click back into the Description area to see the update.
Default View – 100% #
This is how the Description area appears by default:
Increased Zoom – 140% #
Here’s the same Description content with the Zoom set to 140%:

Tip: Zoom is especially helpful for users working on high-resolution monitors or viewing complex listing data.
3. Change the Background Color #
- In the same Description tab, select the Color dropdown.
- Choose a background color to apply to the Description panel.
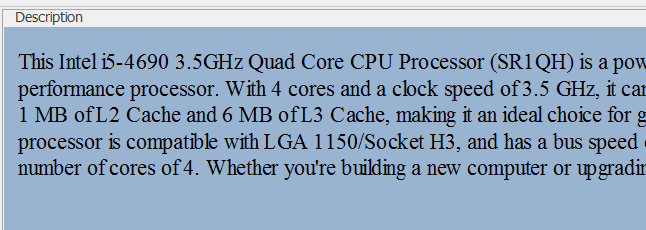
Background Color Example #
Here, a subtle color has been applied to the background for better contrast:
To revert to the default (transparent background): #
Go to the Web tab and select the Transparent option.
Tips & Common Use Cases #
- Zoom is the most frequently used setting, great for adjusting text to personal viewing preferences.
- Color backgrounds can be useful for improving visibility against certain fonts or layout themes.
- Templates used in business listings may appear large by default, no issue, just zoom out or adjust the background if needed.


