Video Tutorial #
Menu Location #
- Home > Keywords
- Or Clicking “eBay Searches” Tab
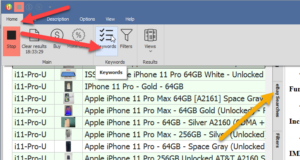
Enable / Disable Search Term #
- Click the check box on the left side of the search term row.
- Disabled terms = black
- Enabled terms = white
Included Example Keywords #
Some example keywords have been included for your reference. After you have created your first search term to get started you can disable or delete these search terms. These can also help with import / export search terms from .csv file by having an example of a full keyword search in the export for data reference.
Add / Delete / Duplicate #
Add #
- Click Plus Icon – (upper right corner)
- or right click on existing search term > New eBay Search
Delete #
- Click X Button – (Upper right corner)
- Right click on existing search term > Delete Item
- You can hold CTR + Mouse click multiple search terms for bulk selection
Duplicate Existing Search Term #
Useful for creating new similar search terms with only a few variations of data
- Right click existing search terms > Duplicate eBay Search
Input Required Search Term Fields #
To get started, we’ll focus on the necessary and required fields. Others options will be explained below.
For reference, we’ll use the example iPhone 11 Pro Unlocked Cell Phone
Double click in any cell to begin entering information
- Alias – Your own internal name given to a keyword.
- Example: We’ll call this “i11-Pro-U“
- Keywords – Enter keywords just as you would on eBay
- Example: iPhone 11 Pro Unlocked
- Category ID – Input the numerical eBay category ID.
- Click the down arrow in this field to access eBay’s category tree
- Same area you can type search
- Or manually enter (How to find eBay category ID)
- Ship to Zipcode – Enter your shipping zipcode
- The default “Total Price” field will include the item price + lowest shipping price if calculated shipping cost is enabled on the listing
- Example: Item Price = $100, Lowest cost shipping = $10. Total Price = $110
- The default “Total Price” field will include the item price + lowest shipping price if calculated shipping cost is enabled on the listing
That’s all the necessary fields to get started!
See Additional Keyword fields & options on the full keyword searches guide.
Return to Results View #
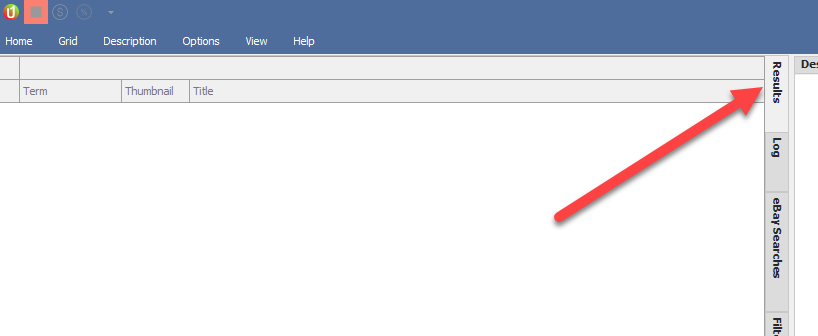
Each time you being to search you will want to be on the default “Results” view.
Results view is the section where new results will be displayed.
Start / Stop Search #
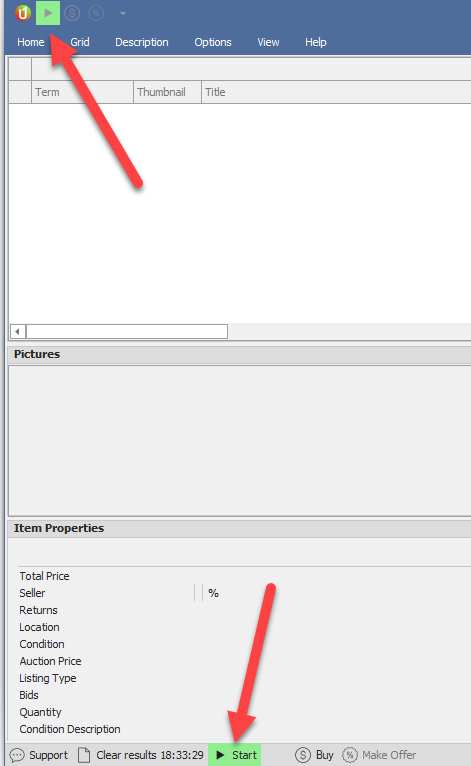
- Click the Green play box in upper left corner
- Or click the Green Start play button on bottom ribbon
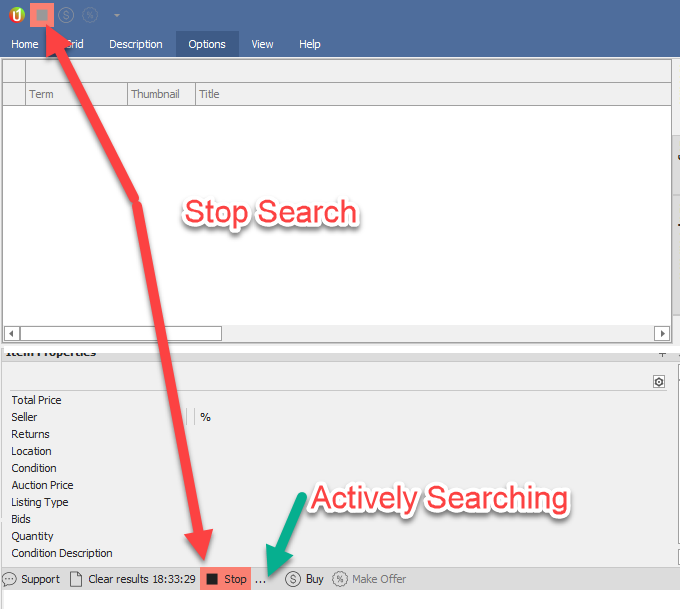
- When the application is actively searching, the green boxes will turn red.
- To stop searching, click the red start/stop buttons
- Actively searching will show three moving dots next to bottom start/stop.
Search Results View #
This is the area where new results will be displayed.
- Default search results view = “Results” panel
Default Sort #
- By Default, results will be sorted by recently found.
- The column name is “Found Time”
- Anytime you are unsure if sorted by newly listed, go to this column and you can click the column header to sort. The arrow should be down.

Modifying Data Columns #
One of the powers of uBuyFirst is rearranging listing data to perfectly fit your needs, eliminate data that’s not important and organizing your custom view in a manner that will assist in qualifying / disqualifying an item as quickly as possible.
Moving Columns #
- To rearrange columns Mouse click + hold the column header and drag horizontally across the results header to relocate a field
Deleting Columns #
- Right click any column header name > Hide this column
View / Select Available Columns #
- Right click any column header > Column Band Chooser
- You will see a list of all available fields
- Select/deselect columns
- Exit back to results view
Deleting Results #
- The active search result record will be highlighted in black
- To delete, single click or Hold Ctrl + select multiple with mouse > Delete on keyboard
- Right click on selected record(s) > remove row(s)
- Clear all results > single click “Clear Results” on bottom ribbon of app.
Open Listing to Browser to View/Purchase #
When you’ve made a decision to purchase and want to purchase by default through the browser.
- Press ENTER button on keyboard and actively selected record will open
- Double click on the record in the results view
- Click the “Buy” button module within uBuyFirst
Change Search Results Font / Size #
You can adjust the font style, size and row height to find the best visibility and monitor size setup.
- Main Nav > Gird > Grid Font
- Main Nav> Grid > Row Height
Resizing Results & Panels #
You can resize the results and additional panel modules
- Click , hold and drag the sides/top of panels to find a balance between how much data you need to see and viewing other panel in
Filter Rules for Assigning Color #
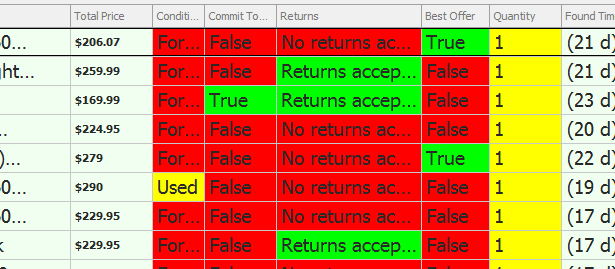
Filter rules can be setup to quickly help you identify important purchasing criteria and apply these rules to individual fields or entire rows.
Examples of use:
- If a listing has 10 quantity you can highlight the QTY number
- Green = 1
- Yellow = Greater than 1
- Returns Accepted
- 30 Days = Green
- 7 Days = Yellow
- No Returns = Red
- Seller Feedback
- 0 Feedback – Make entire record red
- Under 10 feedback – Make record yellow
- Negative Feedback – Make entire record Red
Where in the examples above, you may not want to disqualify one of these purchases but you want to factor it in against all other criteria before making a decision.
A number of pre-configured filter rules are included.
Main Nav > View > Filters
Here you can create and disable them as needed and discussed in further detail in another guide.
For quick start, the importance is you’ll see pre-configured filters being applied on your initial results.
Other Results Info / Tips #
- uBuyFirst will continuously search for your keywords while active as fast as possible.
- Listings that are already sold or no longer available will turn orange
- Ensure search terms are enabled / disabled
- Ensure results are sorted by “Found Time” column
Congrats! You’ve created a search term and your up and running!
Ready to do more? Check out our other getting started tutorials or visit our website livehelp for support or to schedule a 1:1 setup demo.


